
Overview
A bundle product allows customers to assemble a purchase from an assortment of options. The bundle could be a combination of textbooks, webinars, or anything that can be customized. Bundled products incentivize customers to purchase packaged products.
Creating a Bundle Product
- On your Kano Store Admin panel, click Catalog > Products to access the Products page.
- On the Products page, click on the drop down arrow beside Add Product and select Bundle Product.
- Enter a Product Name in the corresponding field.
- Your Kano Store will automatically generate an SKU based on your product name. You can manually enter your own SKU.
- Set the Dynamic SKU to Yes or No.
- Yes: Allows a dynamic SKU to be assigned to each bundle item, which adds a suffix to the default SKU.
- No: Allows a unique SKU to be assigned to each bundle item.
- Set the Dynamic Price to Yes or No
- Yes: Allows the customer to select pricing options for each bundle. This disables the Price and Tax Class fields in the required settings.
- No: Allows the bundle to be sold under a fixed price, which can be entered in the price field.
- If you would like to create promotional pricing for each of your bundle products, set Dynamic Pricing to No and enter a Price of $0.00. You can then edit individual product prices to add your desired discounts.
- Set your product as In Stock to show that it is available for sale on the website. When the quantity is empty or zero, the stock status defaults to out of stock.
- If you have your Inventory Settings turned off, then you do not need to configure your course's Quantity and Stock Status settings.
- The default visibility setting, 'Catalog, Search', allows the product to be accessed through viewing the catalog or using the search panel. You can keep this default setting, or select 'Catalog,' 'Search,' or 'Not Visible Individually' in the drop-down menu.
- Setting your product visibility to Not Visible Individually will result in your product not being accessible unless it is part of a bundle or combined product. If you would like to 'hide' your course, then set Visibility to Search, or add it to a hidden Catalog.
- In the corresponding drop-down menu, select the categories applicable to your product and click Done. If you would like to create a new category for your product, click the New Category button.
Setting up Your Bundle
- Scroll down and expand the Bundle Items section. Select whether to ship items Together or Separately.
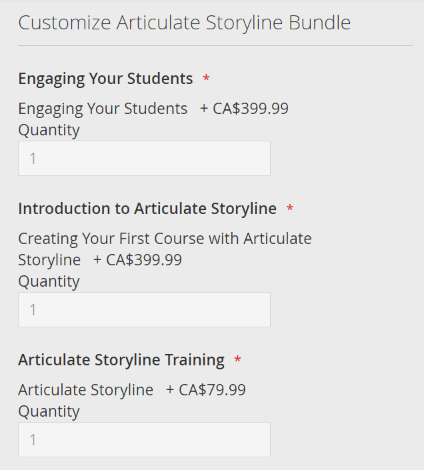
- Click on Add Options to create your first selectable product option.
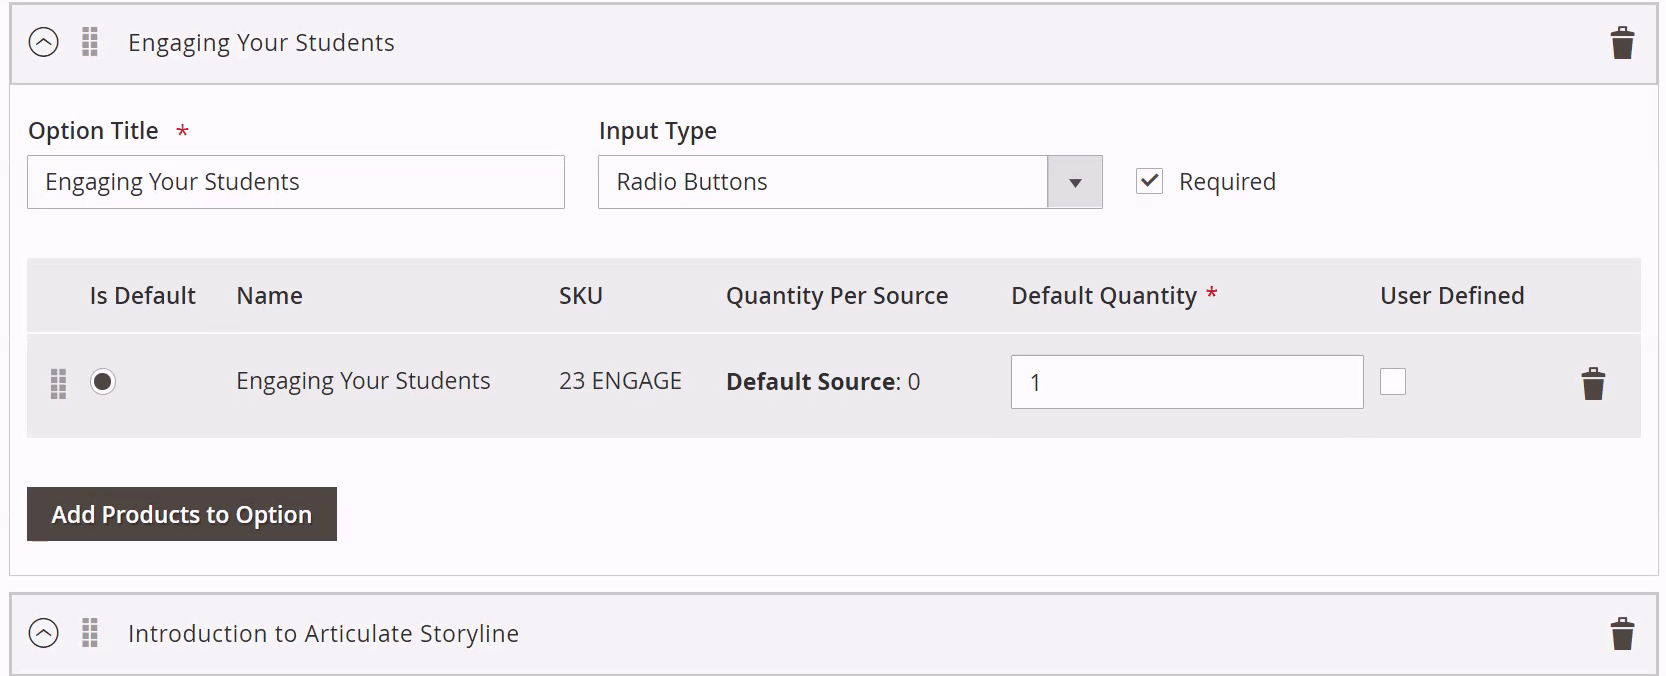
- Enter an Option Title and select the Input Type.
- Then, click Add Products to Options to create a selectable option for your bundle.
- Select the products you would like to include in this option, and click Add Selected Products.
- After adding products to your option, choose an item to be the default selection and select its corresponding "Is Default" box.
- If you have Dynamic Pricing turned off, you can then edit each individual product price.
- Input the Default Quantity of a product, which will appear in the quantity field when the option is selected. If you have the Drop-Down or Radio input type select, you can provide customers the option to change the quantity of an individual bundle item by checking the User Defined checkbox.
- If you would like to delete an item, click on its corresponding Delete icon. If you would like to add more items to an existing option, click Add Products to Option.
- If you would like to add more options to your bundle, click Add Option.
Once you are complete, click Save.
TIP: Creating separate options for required products, with the required product being the only product within that option, will ensure that they cannot be deselected.
Example: Forced Bundles
If you would like to ensure that the all items are sold together, use the following settings to create a 'forced' bundle.
- Once you have completed your Bundle Product general settings, scroll down and expand the Bundle Items section. Select whether to ship items Together or Separate[ly].
- Click on Add Options to create your first selectable product option.
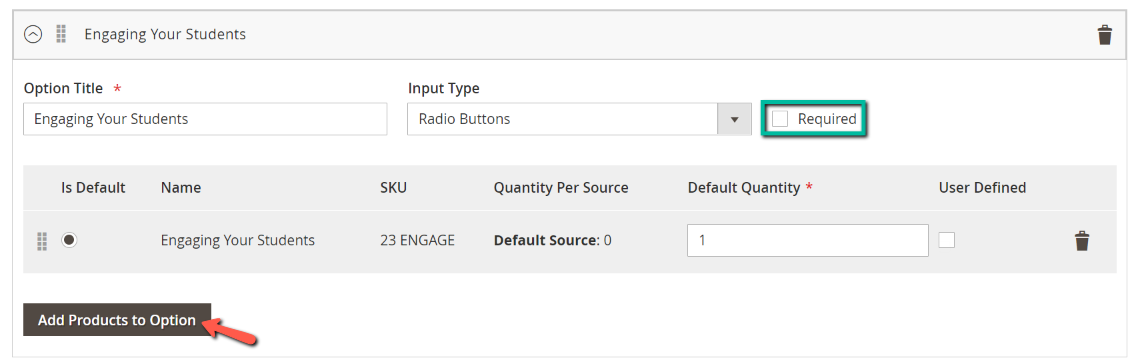
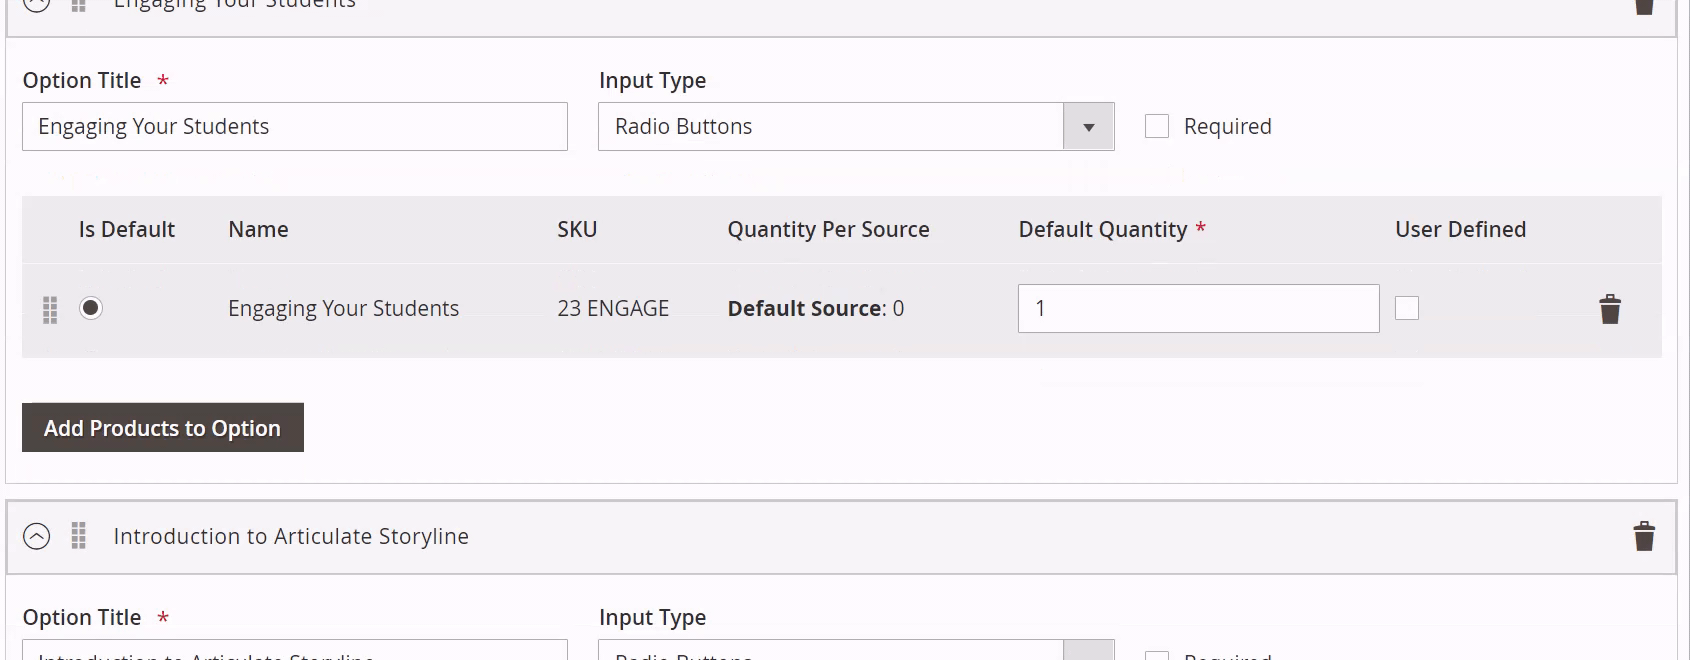
- Enter an Option Title and select Radio Buttons or Checkbox for the Input Type. Then, click Add Products to Options to select the first product, and ensure that the Required checkbox is enabled.
- Then, click Add Selected Products.
- After adding the first product to your option, select the "Is Default" box. Then, set the Default Quantity and leave the Used Defined checkbox unchecked.
- Continue to create separate, individual Product Options for all of the products that you would like to include in your bundle. Ensure that there is only one product per option, and that each option is set to Required.
- Once you have added all of the necessary products, continue configuring your product settings, and click Save.


Your product bundle is now configured so that all products are included, and customers will be unable to deselect any of the options.
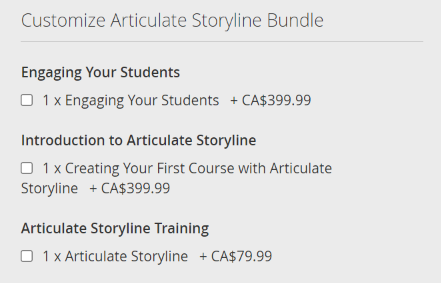
Example: Optional Bundles
- Once you have completed your Bundle Product general settings, scroll down and expand the Bundle Items section. Select whether to ship items Together or Separate[ly].
- Click on Add Options to create your first selectable product option.
- Enter an Option Title and select Radio Buttons or Checkbox for the Input Type. Then, click Add Products to Options to select the first product, and ensure that the Required checkbox is disabled.
- Then, click Add Selected Products.
- After adding the first product to your option, select the "Is Default" box. Then, set the Default Quantity and leave the Used Defined checkbox unchecked.
- Continue to create separate, individual Product Options for all of the products that you would like to include in your bundle. Ensure that there is only one product per option, and that each option has the Required option disabled.
- Once you have added all of the necessary products, continue configuring your product settings, and click Save.
Your product bundle is now configured so that all products are optional, and customers will be be able to deselect any of the options.
Comments
0 comments
Please sign in to leave a comment.